Create shared mailboxes so a group of people can monitor and send email from a common email addresses, like no_reply@domain.dk. So the sent email appears to be from the shared mailbox and stored.
To create a shared mailbox in Office 365, you'll need to have administrative access to your Office 365 account. Here are the steps to create a shared mailbox:
Sign in to your Office 365 admin portal using your administrator credentials.
In the admin center, go to "Admin centers" and select "Exchange."
In the Exchange admin center, go to "Recipients" in the left-hand navigation pane.
Select "Shared" in the "Recipients" tab.
Click the "+" (plus) icon to add a new shared mailbox.
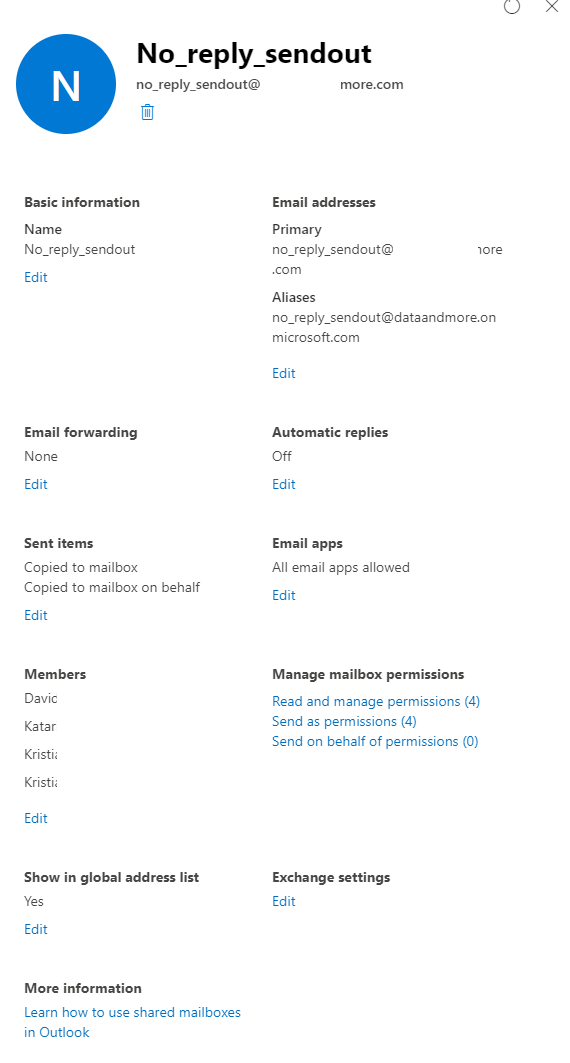
Fill in the necessary information for the shared mailbox: - Display name: Enter a name for the shared mailbox. - Email address: Enter the email address you want for the shared mailbox (e.g., sharedmailbox@yourdomain.com). - Add members: Click "Add" to add users who should have access to this shared mailbox. You can search for users or select them from your directory.
Remember to set mailbox permissions for the shared mailbox under the "Mailbox permissions" section. You need to set the following permissions to specific users.
Click "Save" to create the shared mailbox.Once you've completed these steps, the shared mailbox will be created, and the users you added will have access to it. They can access it through their Outlook or other email clients, depending on their permissions.Please note that it might take some time for the shared mailbox to become fully active, and users may need to restart their email clients or Outlook to see it.
Remember to test it before use to secure that it works as intended.
For more details on this topic see: https://learn.microsoft.com/en-us/microsoft-365/admin/email/create-a-shared-mailbox?view=o365-worldwide